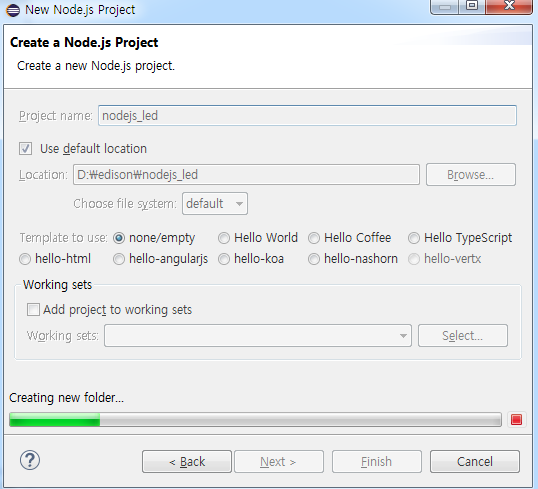
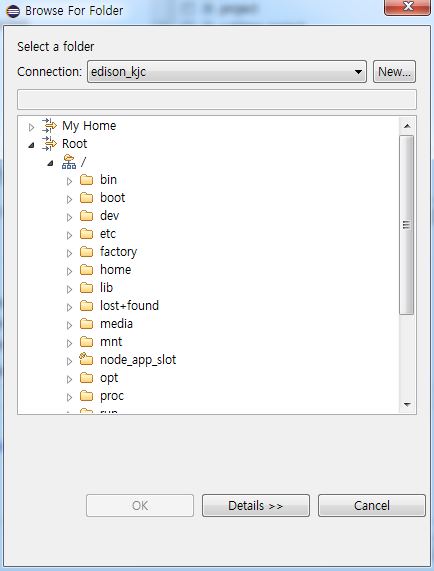
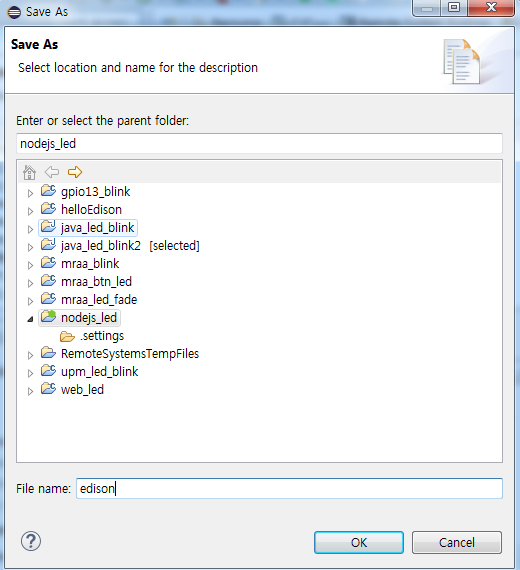
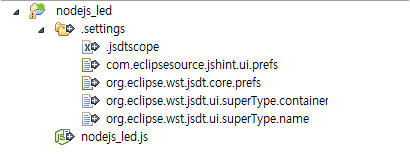
Intel Edison board Eclipse NodeJS LED 프로젝트 Perspective에서 Node를 선택한다. NodeJs Project를 선택한다. 프로젝트 이름을 기입하고 생성한다. Javascript를 생성한다. nodejs_led.js의 소스 코드를 입력한다. var mraa = require("mraa"); console.log("hello edison"); var led = new mraa.Gpio(13); led.dir(mraa.DIR_OUT); var state = true; function blink() { led.write(state-0); state = !state; } var timer = setInterval(blink,1000); // 1 second setTimeout(function(){ clearInterval(timer); // stop timer },10000); // 10 second and Finish Remote System Explorer로 이동한다. Local에서 방금 만든 js를 copy한다. edison으로 넘어와 붙여넣기 한다. Putty로 돌아와 실행한다. root@edison_kjc:~/js# ls hello.js nojejs_led.js root@edison_kjc:~/js# node nodejs_led.js 프로젝트에서 오른쪽버튼을 눌러 Expore버튼을 누른다. +는 서버에 필요하다 파일을 선택하고 오른쪽 버튼에 put을 클릭하면 에디슨으로 올라간다. nodejs_led.js를 put한다. put하게 되면 사라지게 된다. Remote System Explorer에서 확인해보면 추가된것을 확인할 수 있다. 소스파일 Local에서 수정하기 var mraa = require("mraa"); console.log("hello edison with Remote Export"); var led = new mraa.Gpio(13); led.dir(mraa.DIR_OUT); var state = true; function blink() { led.write(state-0); state = !state; } var timer = setInterval(blink,1000); // 1 second setTimeout(function(){ clearInterval(timer); // stop timer },10000); // 10 second and Finish nodejs_led.js 파일에서 오른쪽 버튼을 클릭하고 Export to Remote System을 누른다. 밑에서 put을 누른다. nodejs_led.js가 목록에서 사라지고 보드로 옮겨진다.Local에서 작업한 파일 에디슨으로 내보내기


'사물인터넷' 카테고리의 다른 글
| Intel Edison board Eclipse NodeJS edison-IO 프로젝트 (0) | 2016.03.08 |
|---|---|
| Intel Edison board Eclipse NodeJS Webserver 프로젝트 (0) | 2016.03.08 |
| Intel Edison board Eclipse MarketPlace 및 NodeJS를 위한 Nodeclipse 프로그램 설치 (0) | 2016.03.08 |
| Intel Edison board XDK IoT (0) | 2016.03.08 |
| Intel Edison board Eclipse Java LED 제어하기 (0) | 2016.03.08 |