AWS Lambda PIL 라이브러리 빌드 image data augmentation

오늘은 이미지 프로세싱(image processing), 이미지 전처리(pre-processing), 딥러닝 CNN 모델 학습을 위한 데이터 확대(data augmentation)을 위해 Lambda와 S3를 이용한 프로젝트를 진행해보겠습니다.
S3에 이미지를 올리면 다른 버킷(bucket)에 augmentation된 이미지들이 저장됩니다. Lambda에는 pillow 라이브러리를 빌드해 처리할 것입니다.
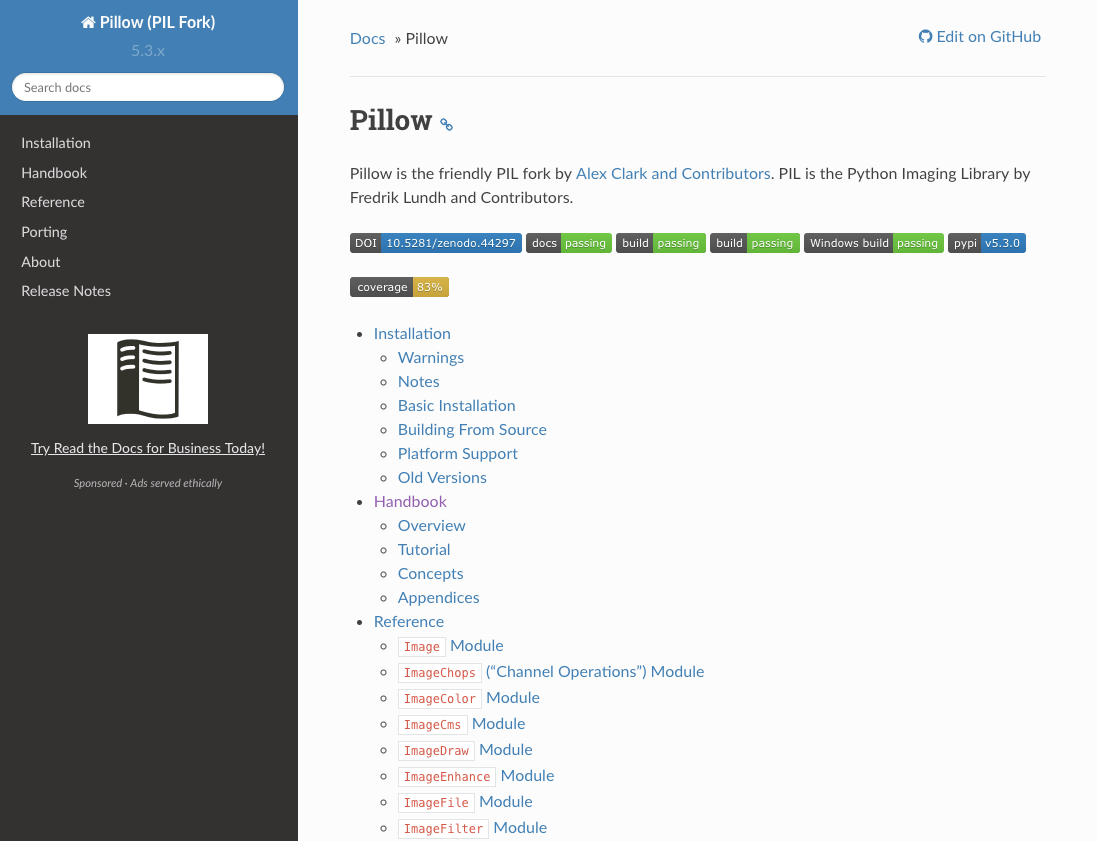
https://pillow.readthedocs.io/en/5.3.x/
자세한 이전 과정은 다음의 글을 확인해주세요.
AWS Lambda Python 라이브러리 numpy 배포 패키지 만들기 matmul 실행
Lambda 함수 생성
처음해야 할 작업은 Lambda 함수를 생성하는 일입니다. image_data_augmentation 함수명으로 작성하고, Python 2.7 버전을 선택합니다. role도 설정해야 하는데 Lambda, S3에 Full Access를 주셔도 무방합니다.

생성된 ARN 주소를 기억해주세요. AWS EC2에서 빌드할 때 update-code를 실행하기 위해 Function ARN이 필요합니다.

S3 Bucket 생성
다음은 이미지를 업로드할 버킷과 데이터 확대를 하고 나서 저장될 버킷 2개를 생성해야 합니다.
웹사이트에서 사용자에 의해 업로드되거나 테스트할 이미지를 업로드할 버킷은 pre-image-data-augmentation 이라고 하겠습니다.

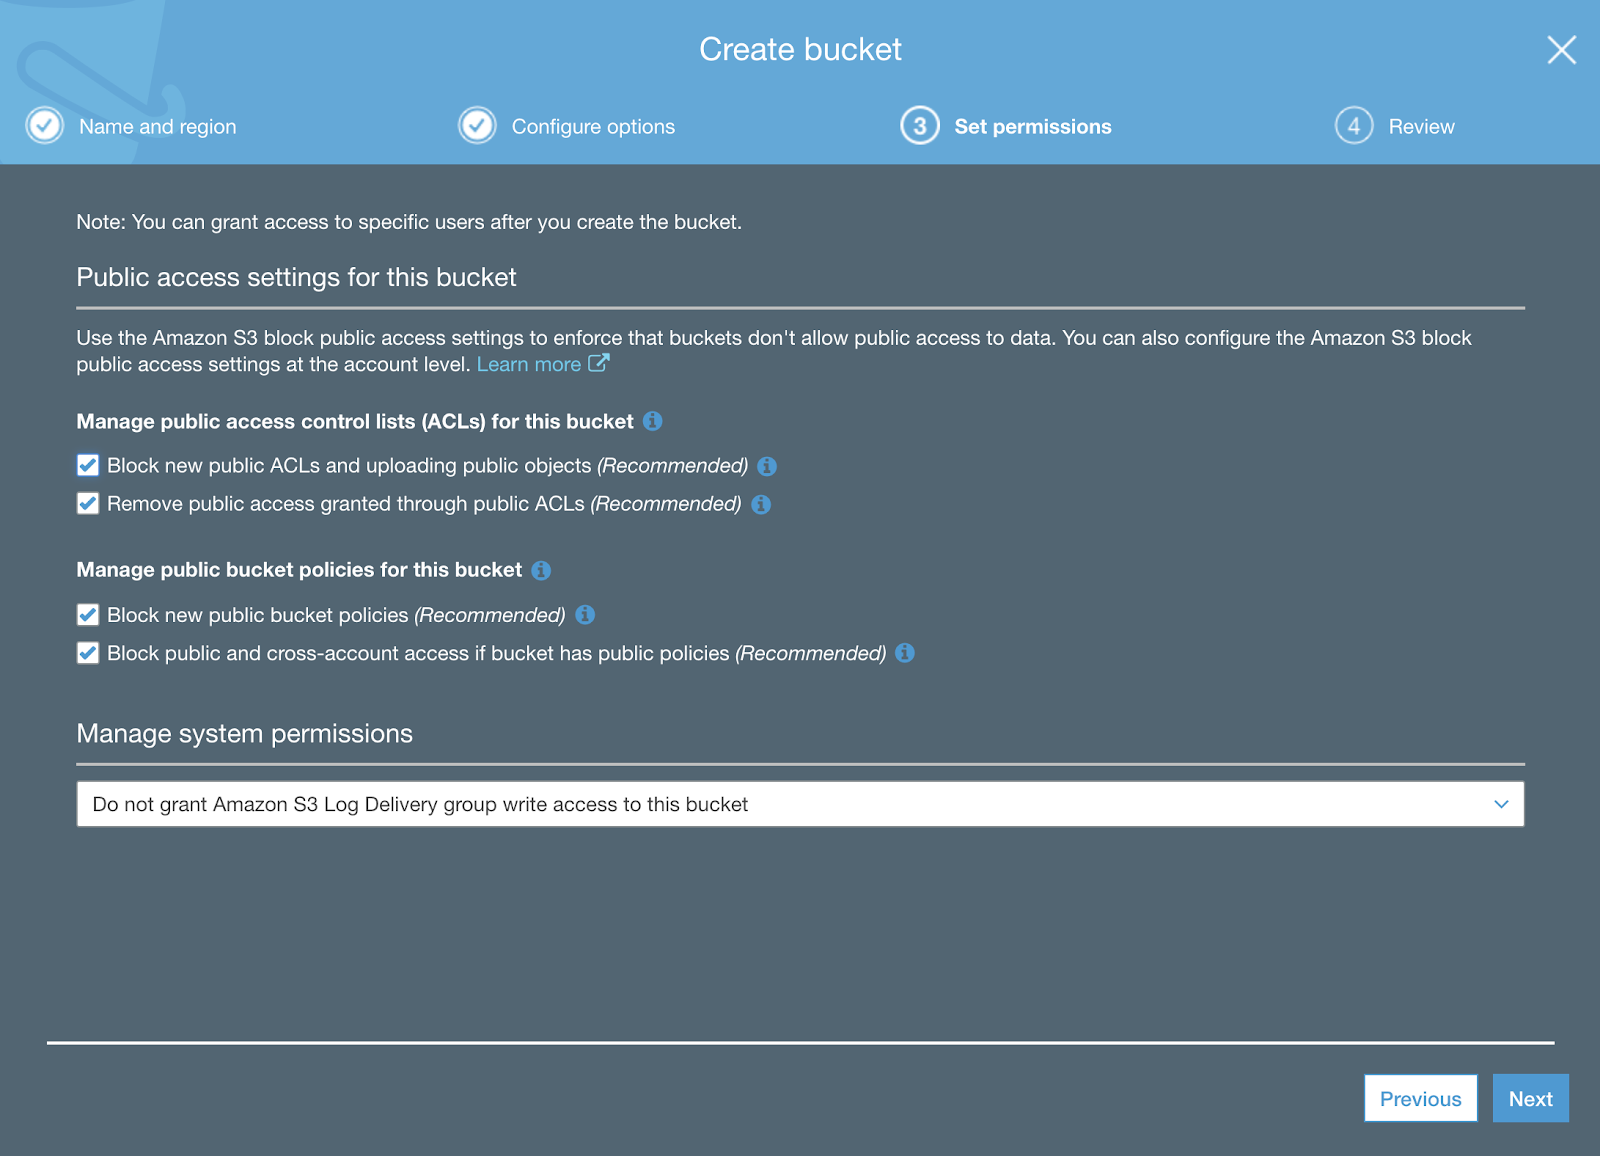
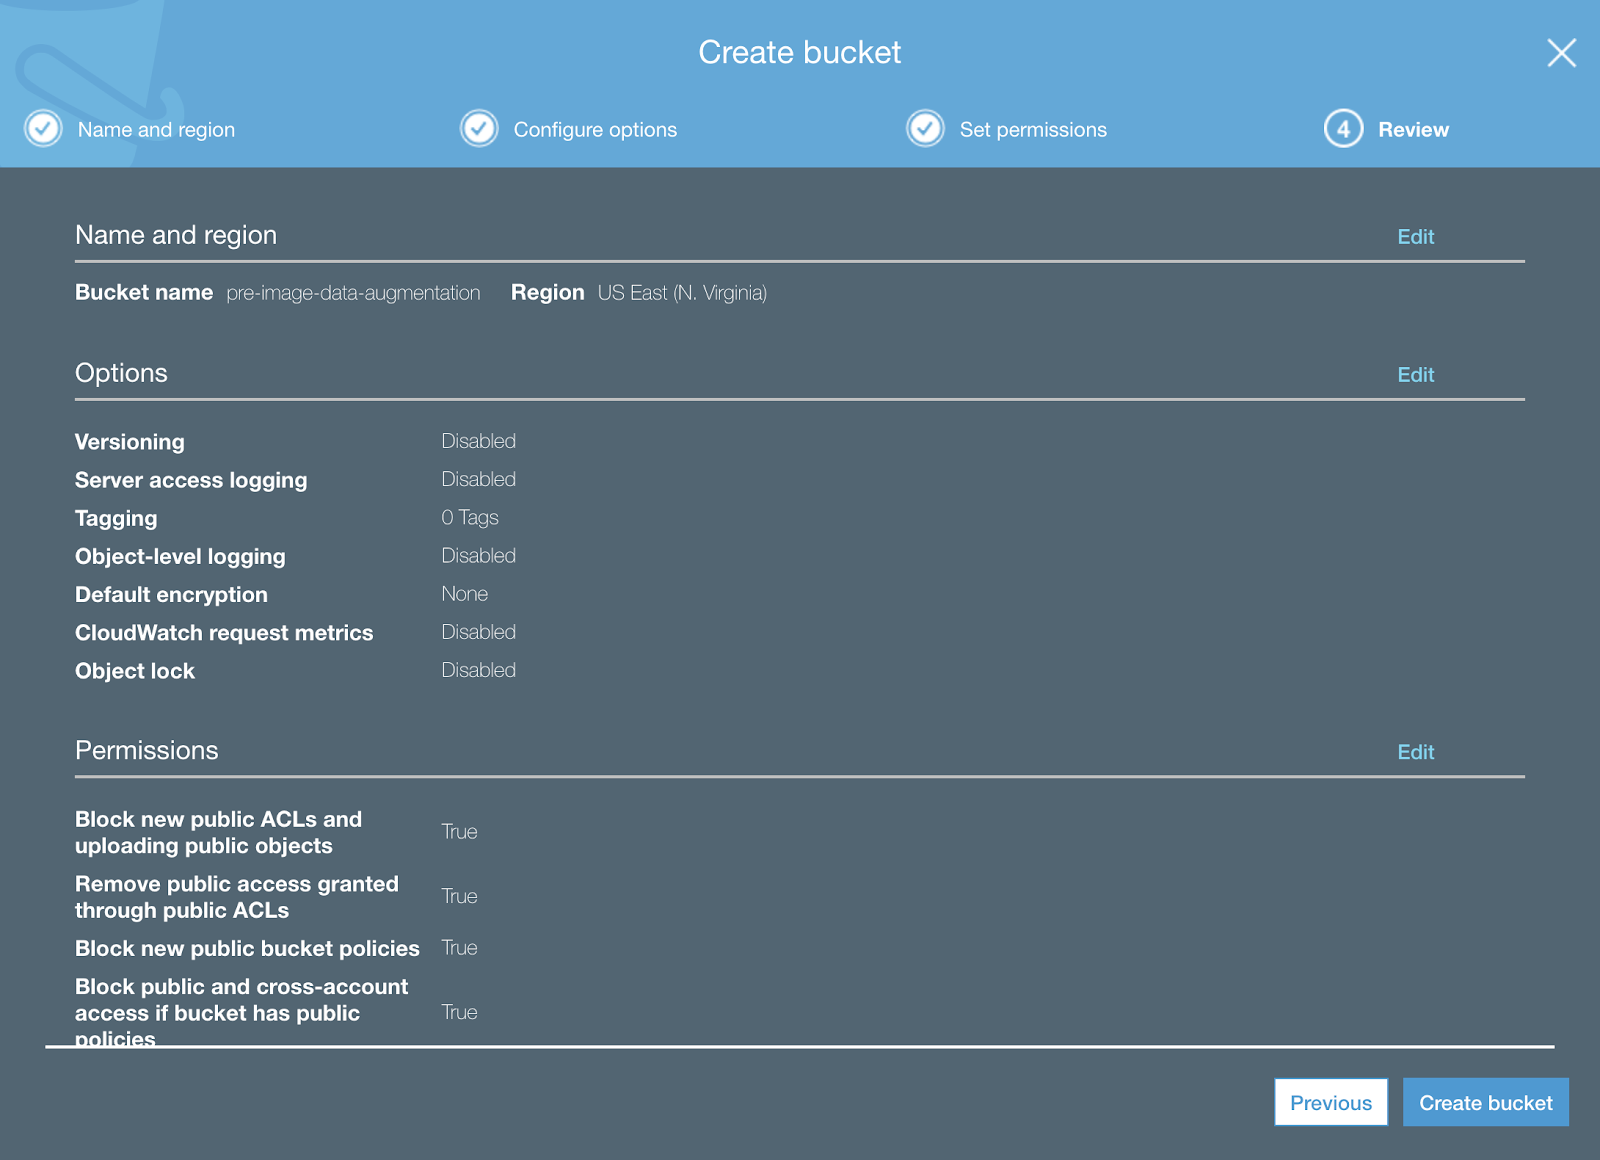
데이터 확대(data augmentation)으로 생성된 결과 이미지를 저장할 버킷은 result-image-data-augmentation 이라고 하겠습니다.


AWS EC2 PIL 라이브러리 빌드
https://docs.aws.amazon.com/ko_kr/lambda/latest/dg/current-supported-versions.html
Lambda 전용 AMI 이미지를 선택하고 인스턴스를 시작합니다. 저는 t2.medium을 사용하였습니다.
자동화 스크립트는 다음과 같습니다.
#!/bin/bash
development_install () {
sudo yum -y upgrade
sudo yum -y groupinstall "Development Tools"
sudo yum install -y libjpeg-devel zlib-devel
}
create_virtualenv () {
cd ~
virtualenv --python=python2.7 pillow
source ~/pillow/bin/activate
}
pip_install () {
pip install pillow
}
zip_library() {
cd ~/pillow/lib64/python2.7/dist-packages/
zip -r9 ~/Pillow.zip .
}
main () {
development_install
create_virtualenv
pip_install
zip_library
}
main
우선 설치해야 할 것은 다음의 패키지입니다.
$ sudo yum install -y libjpeg-devel zlib-devel

pip install을 진행할 가상 환경을 생성합니다.
$ virtualenv --python=python2.7 pillow
$ source ~/pillow/bin/activate

$ pip install Pillow

$ cd pillow/lib64/python2.7/dist-packages/
$ ls
$ zip -r9 ~/ImageAugmentation.zip *

Python 코드 작성
코드는 GitHub에 올려 놓았습니다.
vi lambda_function.py

import로 필요한 것은 AWS Python library인 boto3와 os, sys, uuid 그리고 이미지 프로세싱을 위한 PIL 라이브러리가 필요합니다.
import boto3
import os
import sys
import uuid
from PIL import Image, ImageFilter
s3_client = boto3.client('s3')
TMP = "/tmp/"
이 함수에서 데이터 확대를 진행합니다. 함수 인자로 파일명과 원본 이미지 경로를 받습니다. 반환은 확대된 결과의 이미지 경로를 리스트에 저장해 반환합니다.
def augmentation_image(file_name, image_path):
result_file_path = []
with Image.open(image_path) as image:
tmp = image
result_path = "flip-left-right-"+file_name
result_img = tmp.transpose(Image.FLIP_LEFT_RIGHT)
result_path = TMP+result_path
result_img.save(result_path)
result_file_path.append(result_path)
result_path = "flip-top-bottom"+file_name
result_img = tmp.transpose(Image.FLIP_TOP_BOTTOM)
result_path = TMP+result_path
result_img.save(result_path)
result_file_path.append(result_path)
result_path = "rotate-90-"+file_name
result_img = tmp.transpose(Image.ROTATE_90)
result_path = TMP+result_path
result_img.save(result_path)
result_file_path.append(result_path)
result_path = "rotate-180-"+file_name
result_img = tmp.transpose(Image.ROTATE_180)
result_path = TMP+result_path
result_img.save(result_path)
result_file_path.append(result_path)
result_path = "rotate-270-"+file_name
result_img = tmp.transpose(Image.ROTATE_270)
result_path = TMP+result_path
result_img.save(result_path)
result_file_path.append(result_path)
result_path = "blur-"+file_name
result_img = tmp.filter(ImageFilter.BLUR)
result_path = TMP+result_path
result_img.save(result_path)
result_file_path.append(result_path)
result_path = "contour-"+file_name
result_img = tmp.filter(ImageFilter.CONTOUR)
result_path = TMP+result_path
result_img.save(result_path)
result_file_path.append(result_path)
result_path = "detail-"+file_name
result_img = tmp.filter(ImageFilter.DETAIL)
result_path = TMP+result_path
result_img.save(result_path)
result_file_path.append(result_path)
result_path = "edge-enhance-"+file_name
result_img = tmp.filter(ImageFilter.EDGE_ENHANCE)
result_path = TMP+result_path
result_img.save(result_path)
result_file_path.append(result_path)
result_path = "emboss-"+file_name
result_img = tmp.filter(ImageFilter.EMBOSS)
result_path = TMP+result_path
result_img.save(result_path)
result_file_path.append(result_path)
result_path = "smooth-"+file_name
result_img = tmp.filter(ImageFilter.SMOOTH)
result_path = TMP+result_path
result_img.save(result_path)
result_file_path.append(result_path)
result_path = "sharpen-"+file_name
result_img = tmp.filter(ImageFilter.SHARPEN)
result_path = TMP+result_path
result_img.save(result_path)
result_file_path.append(result_path)
result_path = "gray-scale-"+file_name
result_img = tmp.convert('L')
result_path = TMP+result_path
result_img.save(result_path)
result_file_path.append(result_path)
result_path = "resized-"+file_name
image.thumbnail((128, 128))
result_path = TMP+result_path
image.save(result_path)
result_file_path.append(result_path)
return result_file_path
Lambda Hadler에서는 S3 버킷에 파일이 생성될 시에 발생되는 이벤트에서 bucket의 이름과 생성된 파일의 이름을 가지고 download_file을 이용해 /tmp/ 경로에 저장합니다. Lambda는 /tmp/에 파일을 쓸 수 있습니다. 526MB 정도의 공간을 가지고 있습니다. 나머지 파일 시스템은 read-only 입니다. s3_client에 upload_file을 이용해 버킷에 업로드를 진행합니다.

def lambda_handler(event, context):
for record in event['Records']:
bucket = record['s3']['bucket']['name']
key = record['s3']['object']['key']
download_path = '/tmp/{}{}'.format(uuid.uuid4(), key)
s3_client.download_file(bucket, key, download_path)
file_name = key
result_path = augmentation_image(file_name, download_path)
print result_path
for upload_path in result_path:
s3_client.upload_file(upload_path, 'result-image-data-augmentation', upload_path.split("/")[2])
$ zip -g ImageAugmentation.zip lambda_function.py

AWS Lambda Function deploy
aws cli를 사용하기 이전에 user의 secret key와 access key를 등록하고 사용하려는 region을 지정해야 사용 가능합니다.
$ aws configure
AWS EC2에서 aws cli를 이용해 Lambda에 함수를 업데이트 합니다. 이 때 update-function-code를 이용합니다.
$ aws lambda update-function-code --function-name arn:aws:lambda:us-east-1:741926482963:function:image_data_augmentation --zip-file fileb://ImageAugmentation.zip

S3 - Lambda
Lambda 콘솔로 이동해서 S3를 Trigger로 설정합니다.

밑에서 Trigger를 발생할 Bucket을 고르고 Event type으로 ‘All object create events’를 설정합니다.

테스트
자 연동 작업도 마무리를 지었으니 테스트를 진행해봅시다.
실제로 pre-image-data-augmentation 버킷에 이미지를 업로드 해봅시다.


업로드를 완료했습니다.

CloudWatch
CloudWatch에서 Lambda 함수의 로그를 확인하여 진행 사항을 볼 수 있습니다.


결과
결과는 result-image-data-augmentation에서 확인할 수 있습니다.

다운받아 확인하면 다음과 같은 이미지 변환을 볼 수 있습니다.

고생하셨습니다.
이상 블로그를 마치겠습니다.