YOLO CNN : Real-Time Object Detection
http://pjreddie.com/darknet/yolo/
YOLO
You only look once (YOLO) is a state-of-the-art, real-time object detection system. On a Titan X it processes images at 40-90 FPS and has a mAP on VOC 2007 of 78.6% and a mAP of 44.0% on COCO test-dev.
YOLO(You Only Look Once)는 최첨단 실시간 물체 탐지 시스템입니다. NVIDIA GPU Titan X에서는 40-90 FPS로 이미지를 처리하고 COCO test dev에서 VOC 2007의 map이 78.6%, mAP가 44.0% 였습니다.
* VOC(Visual Object Classes)
PASCAL
http://host.robots.ox.ac.uk/pascal/VOC/
- Provides standardised image data sets for object class recognition
- Provides a common set of tools for accessing the data sets and annotations
- Enables evaluation and comparison of different methods
- Ran challenges evaluating performance on object class recognition (from 2005-2012, now finished)
- 객체 클래스 인식을위한 표준화 된 이미지 데이터 세트를 제공합니다.
- 데이터 세트 및 주석에 액세스하기위한 공통 도구 세트를 제공합니다.
- 다양한 방법의 평가 및 비교 가능.
- Ran은 객체 클래스 인식에 대한 성능 평가에 도전합니다.
How It Works
Prior detection systems repurpose classifiers or localizers to perform detection. They apply the model to an image at multiple locations and scales. High scoring regions of the image are considered detections.
이전의 감지(detection) 시스템은 분류기나, 로컬라이저를 사용하여 감지를 하였습니다. 이것은 모델을 여러 위치와 스케일을 이미지에 적용하였습니다. 이미지의 높은 점수가 주어진 영역으로 감지한 것으로 간주하였습니다.
We use a totally different approach. We apply a single neural network to the full image. This network divides the image into regions and predicts bounding boxes and probabilities for each region. These bounding boxes are weighted by the predicted probabilities.
YOLO는 다른 접근 방식을 사용합니다. 하나의 신경망(neural network)을 전체 이미지에 적용합니다. 이 네트워크는 이미지를 영역으로 분할하고, 각 영역의 경계 상자(bounding box)와 확률을 예측합니다. 이러한 바운딩 박스는 예측된 확률에 의해 가중됩니다.
Our model has several advantages over classifier-based systems. It looks at the whole image at test time so its predictions are informed by global context in the image. It also makes predictions with a single network evaluation unlike systems like R-CNN which require thousands for a single image. This makes it extremely fast, more than 1000x faster than R-CNN and 100x faster than Fast R-CNN. See our paper for more details on the full system.
YOLO 모델은 분류기 기반의 시스템에 비해 몇 가지 장점이 있습니다. 테스트 시간에 전체 이미지를 보고 이미지의 글로벌 문맥(context)로 예측 정보를 알려줍니다. 또한 단일 이미지에 수천 개가 필요한 R-CNN과 달리 단일 네트워크 평가로 예측을 합니다.이로 인해 R-CNN보다 1,000배 이상 빠르며, Fast R-CNN보다 100배 빠릅니다. 전체 시스템에 대한 자세한 내용은 논문을 살펴보기 바랍니다. http://pjreddie.com/media/files/papers/YOLO9000.pdf
YOLO version 2
YOLOv2 uses a few tricks to improve training and increase performance. Like Overfeat and SSD we use a fully-convolutional model, but we still train on whole images, not hard negatives(*). Like Faster R-CNN we adjust priors on bounding boxes instead of predicting the width and height outright. However, we still predict the x and y coordinates directly. The full details are in our paper.!
YOLOv2는 학습(training)을 개선하고, 성능을 높이기 위해서 몇 가지 트릭을 사용합니다. Overfeat(과학습) 그리고 SSD와 마찬가지로 fully-convolutional 모델을 사용하지만, 부정(hard negatives)이 아닌 전체 이미지를 학습합니다. Faster R-CNN 처럼 너비와 높이를 예측하는 대신에 이전 테두리 상자를 조절합니다. 그러나, 여전히 YOLO는 x, y 좌표를 직접 예측합니다. 전체 내용은 논문에 있습니다.
* What is hard negatives?
https://www.reddit.com/r/computervision/comments/2ggc5l/what_is_hard_negative_mining_and_how_is_it/
Let's say I give you a bunch of images that contain one or more people, and I give you bounding boxes for each one. Your classifier will need both positive training examples (person) and negative training examples (not person).
For each person, you create a positive training example by looking inside that bounding box. But how do you create useful negative examples?
A good way to start is to generate a bunch of random bounding boxes, and for each that doesn't overlap with any of your positives, keep that new box as a negative.
Ok, so you have positives and negatives, so you train a classifier, and to test it out, you run it on your training images again with a sliding window. But it turns out that your classifier isn't very good, because it throws a bunch of false positives (people detected where there aren't actually people).
A hard negative is when you take that falsely detected patch, and explicitly create a negative example out of that patch, and add that negative to your training set. When you retrain your classifier, it should perform better with this extra knowledge, and not make as many false positives(**).
하나 이상의 사람들이 포함된 이미지를 제공한다고 가정해 봅시다. 각 이미지에 테두리 상자를 제공합니다. 분류기는 긍정적인 학습 사례(사람)과 부정적인 학습 사례(사람이 아님)가 필요합니다.
각 사람마다 그 경계 상자 안을 들여다 보고 긍정적인 학습 사례를 만듭니다. 그러나 어떻게 하면 유용한 부정적인 예를 만들 수 있을 까요?
좋은 시작 방법은 임의의(random) 테두리 상자를 생성하는 것입니다. 그리고 각각의 긍정과 겹치지 않도록 새로운 상자를 부정으로 유지합니다.
그리고 나서 긍정, 부정을 가지고 있으므로, 분류기를 학습(training)시키면서 슬라이딩 윈도우로 훈련 이미지에서 다시 테스트 해봅니다. 하지만 분류기가 좋지 않은 것으로 나타납니다. 왜냐하면 거짓 긍정(실제 사람이 아닌 것에서 사람으로 감지됨)이기 때문입니다.
어려운 부정(hard negative)은 잘못 발견된 패치(patch)를 가져와서, 해당 패치에서 부정적인 예를 명확하게 만들고, 해당 부정(negative)을 training-set에 추가할 때 입니다. 분류자를 재학습할 때, 많은 거짓 긍정을 하지 않도록, 더 나은 지식으로 수행해야 합니다.
** What is false positive?
https://ko.wikipedia.org/wiki/%EA%B1%B0%EC%A7%93_%EC%96%91%EC%84%B1
False Positive는 Type 1 에러 라고도 불리고, 우리말로는 거짓 양성이라고 합니다.
정답이 NO 인 문제를 Yes라고 대답한다면 이 오류는 False Positive 입니다.
어떤 메일이 스팸인지 검사하는 프로그램이 있을 때, 정상 메일(정답이 No)을 스팸 메일이라고 판단(Yes 라고 대답)하는 경우를 예로 들어볼 수 있습니다. 잘못된 경보가 울렸다는 뜻에서 False alarm 이라고도 부릅니다.
<-> False Negative
https://ko.wikipedia.org/wiki/%EA%B1%B0%EC%A7%93_%EC%9D%8C%EC%84%B1
거짓 음성(false negative) 또는 2종 오류(type II error)는 통계상 실제로는 양성인데 검사 결과는 음성이라고 나오는 것이다. 예를 들어, 어떤 메일이 스팸 메일인지 검사하는 프로그램이 있다고 하자. 이때 어떤 메일이 실제로는 스팸 메일임에도 불구하고 프로그램 검사 결과 스팸 메일이 아니라고 판정한다면, 이것이 거짓 음성이다. 이러한 현상은 암 진단이나 보안 진단과 같은 분야에서는 거짓 양성에 비해 오 탐지에 대한 비용이 커서 그것을 잘 고려하여 검사 알고리즘을 개발해야 한다.
실제로 검사 알고리즘을 개발한다면, 거짓 양성과 거짓 음성 사이에 trade-off(어느 한편을 늘리면 다른 한편은 그 만큼 줄어드는 것)가 필연적으로 생기게 된다.
Detecting Using a Pre-trained model
Darknet의 YOLO 을 다운로드 합니다.
$ git clone https://github.com/pjreddie/darknet
$ cd darknet

Compile 컴파일
$ vi Makefile

Darknet은 CPU 보다 GPU에서 500 배 이상 빠릅니다. NVIDIA GPU 카드를 사용하고 있다면, CUDA와 CuDNN을 설치하기 바랍니다.
CUDA와 CuDNN이 설치되어 있다면, 첫 번째 라인에서 GPU=1로 두 번째 라인에서 CUDNN=1로 수정합니다.
또한 이미지와 동영상을 처리하므로 OpenCV를 설치해야 합니다. OpenCV가 설치되었다면, 세 번째 라인을 OPENCV=1로 변경합니다.

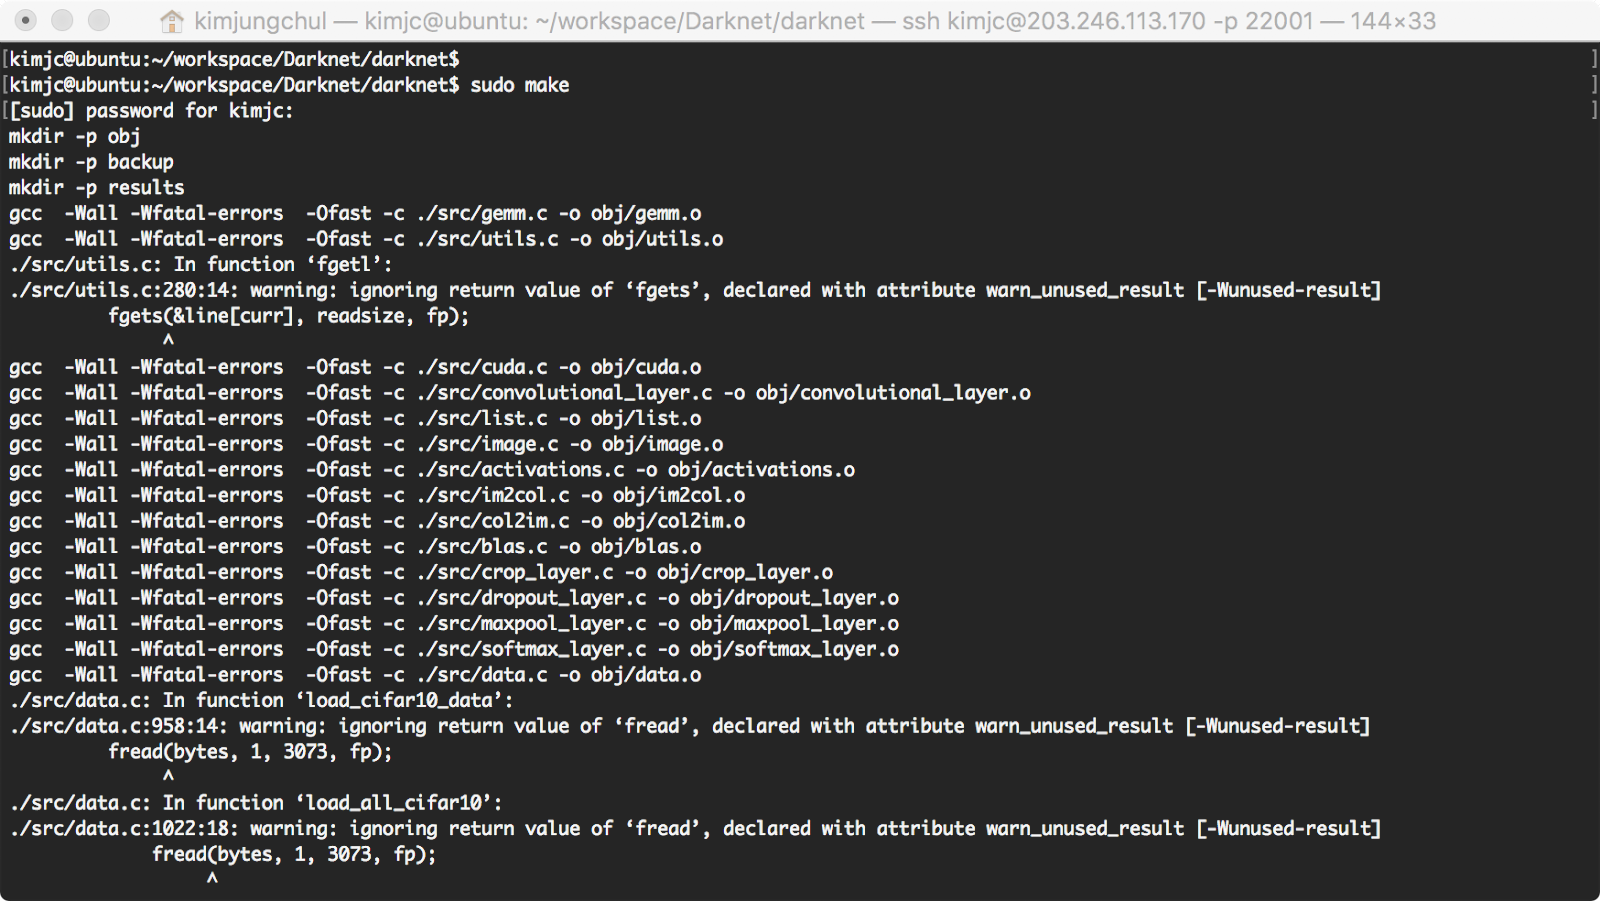
$ sudo make
컴파일 중에 error가 아닌, warning은 가볍게 지나갑니다.
$ ./darknet을 입력하면 usage(사용법)가 나옵니다.

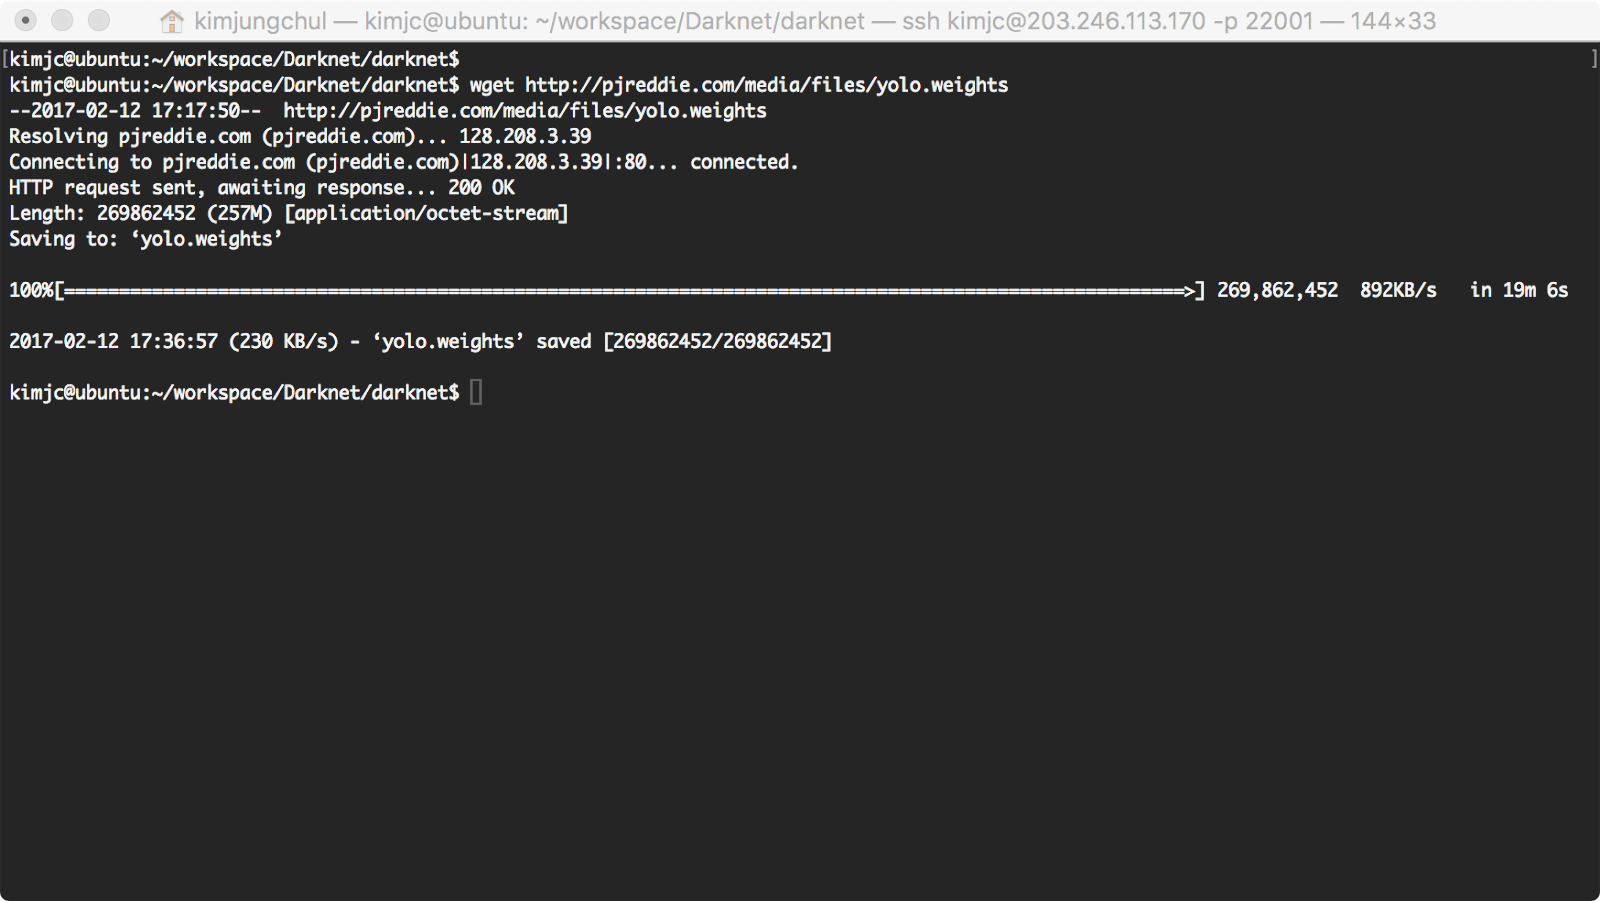
weight 파일을 다운 받습니다.
$ wget http://pjreddie.com/media/files/yolo.weights
디텍팅을 돌립니다.
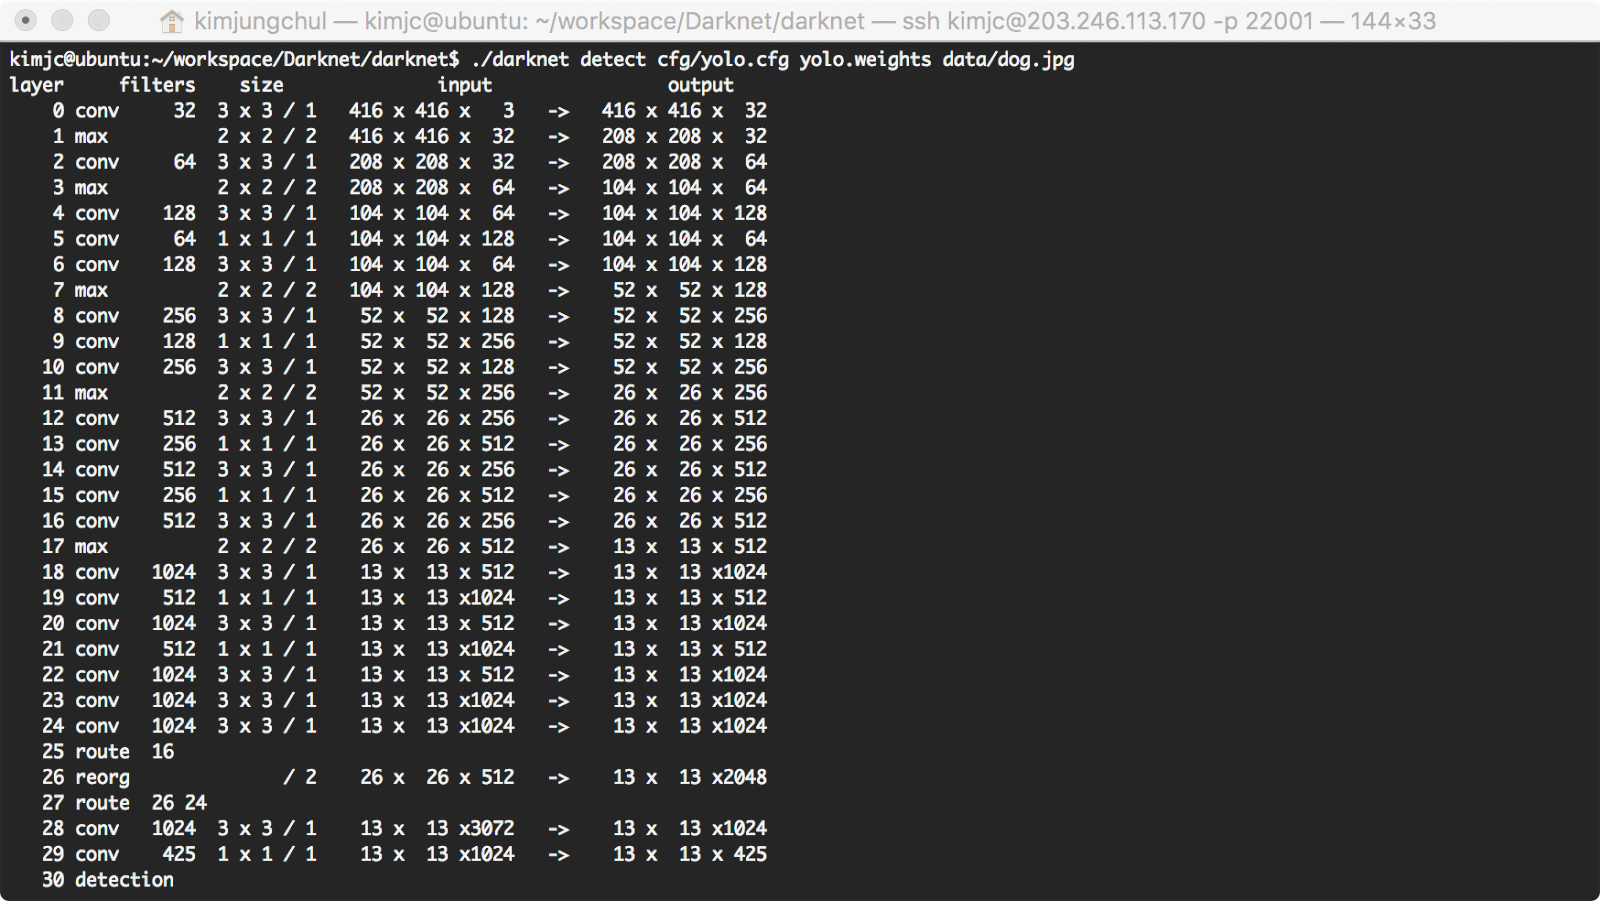
$ ./darknet detect cfg/yolo.cfg yolo.weights data/dog.jpg


$ ./darknet detect cfg/yolo.cfg yolo.weights data/horses.jpg
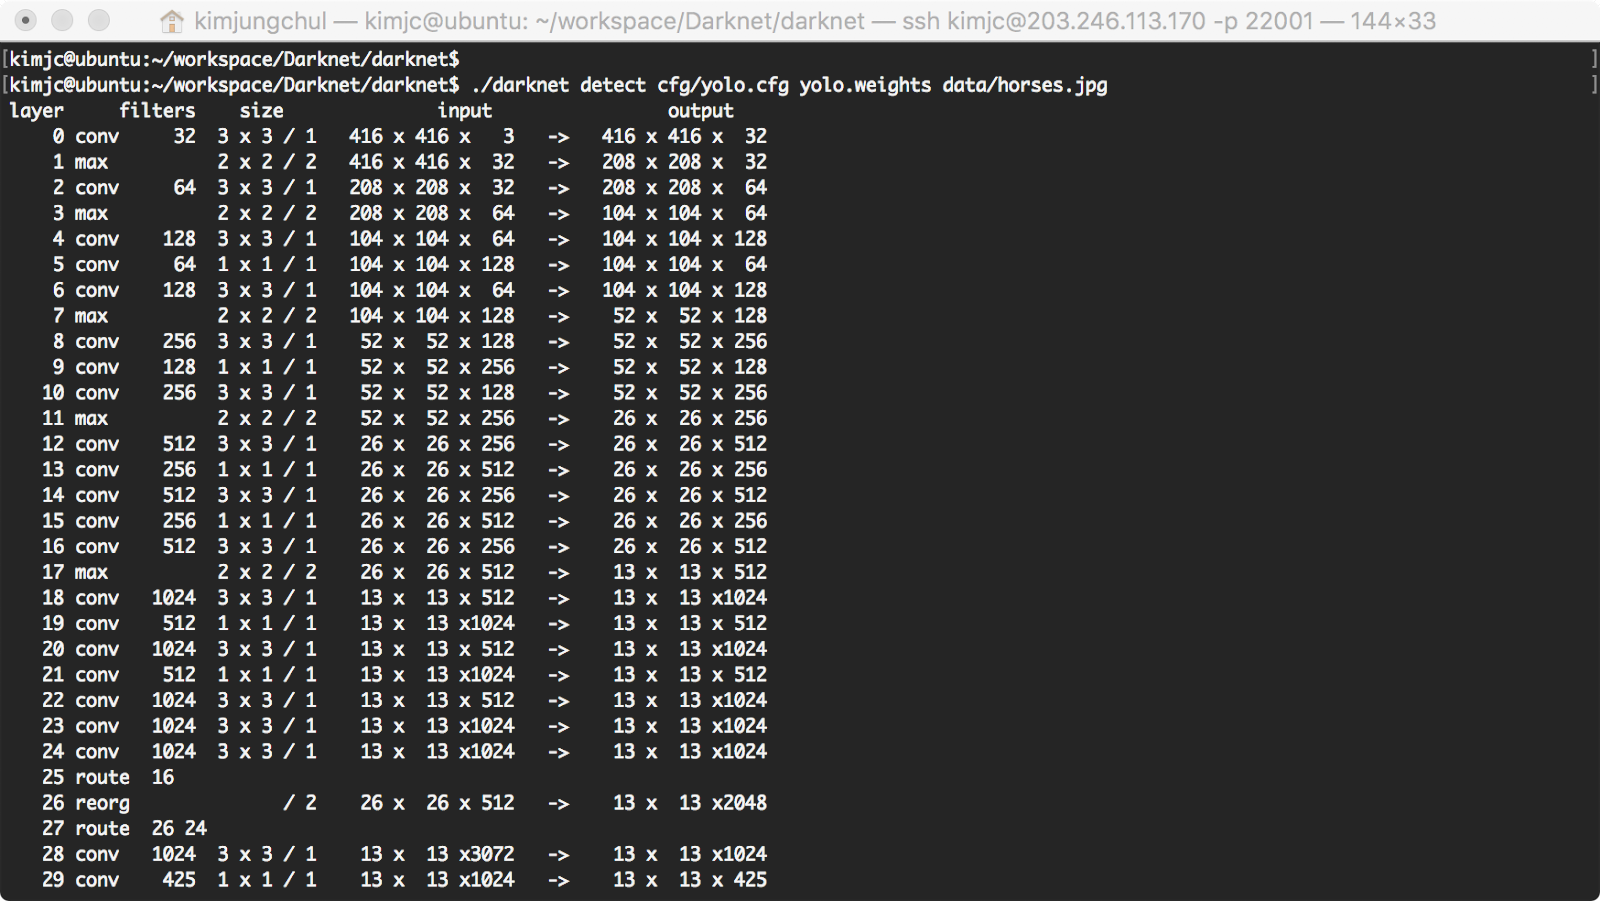


Darknet prints out the objects it detected, its confidence, and how long it took to find them. We didn't compile Darknet with OpenCV so it can't display the detections directly. Instead, it saves them in predictions.png. You can open it to see the detected objects. Since we are using Darknet on the CPU it takes around 6-12 seconds per image. If we use the GPU version it would be much faster.
Darknet은 감지된 객체와, 자신감(confidence), 감지하는데 걸린 시간을 출력합니다. OpenCV로 DarkNet을 컴파일 하지 않으면, Detecting을 직접 표시할 수 없습니다. 대신 예측된 것을 png 파일로 저장합니다. 이를 열어 객체를 확인할 수 있습니다. CPU에서 Darknet을 사용하면, 이미지 당 6~12초가 소요됩니다. GPU에서 사용한다면 훨씬 더 빠를 것입니다.
Real-Time Detection on a Webcam
Running YOLO on test data isn't very interesting if you can't see the result. Instead of running it on a bunch of images let's run it on the input from a webcam!
To run this demo you will need to compile Darknet with CUDA and OpenCV. Then run the command:
테스트 데이터에서 YOLO를 실행하여 결과를 볼 수 없다면 별로 흥미롭지 않습니다. 이미지를 묶음(bunch)로 실행하는 대신 웹캠을 입력으로 실행해봅시다! CUDA와 OpenCV로 컴파일을 해야 합니다. 다음의 명령어를 실행합니다.
$ ./darknet detector demo cfg/coco.data cfg/yolo.cfg yolo.weights
YOLO will display the current FPS and predicted classes as well as the image with bounding boxes drawn on top of it.
You will need a webcam connected to the computer that OpenCV can connect to or it won't work. If you have multiple webcams connected and want to select which one to use you can pass the flag -c <num> to pick (OpenCV uses webcam 0 by default).
You can also run it on a video file if OpenCV can read the video:
YOLO는 현재 FPS 및 예상 클래스뿐만 아니라 경계 상자가 그 위에 그려진 이미지를 표시합니다.
OpenCV가 연결할 수있는 컴퓨터에 웹캠이 연결되어 있어야합니다. 그렇지 않으면 작동하지 않습니다. 여러 웹캠이 연결되어 있고 사용할 웹캠을 선택하려면 -c <num> 플래그를 사용하여 선택하십시오 (OpenCV는 기본적으로 웹캠 0을 사용함).
OpenCV가 비디오를 읽을 수 있으면 비디오 파일에서도 실행할 수 있습니다 :
$ ./darknet detector demo cfg/coco.data cfg/yolo.cfg yolo.weights <video file>
Training YOLO on VOC(Visual Obejct Classes)
You can train YOLO from scratch if you want to play with different training regimes, hyper-parameters, or datasets. Here's how to get it working on the Pascal VOC dataset.
다른 학습 영역과 하이퍼 매개변수(hyper-parameter), 또는 데이터셋(data-set)로 학습을 원한다면, YOLO을 처음부터 학습시킬 수 있습니다. Pascal VOC 데이터셋에서 작업하는 방법은 다음과 같습니다.
Get The Pascal VOC Data
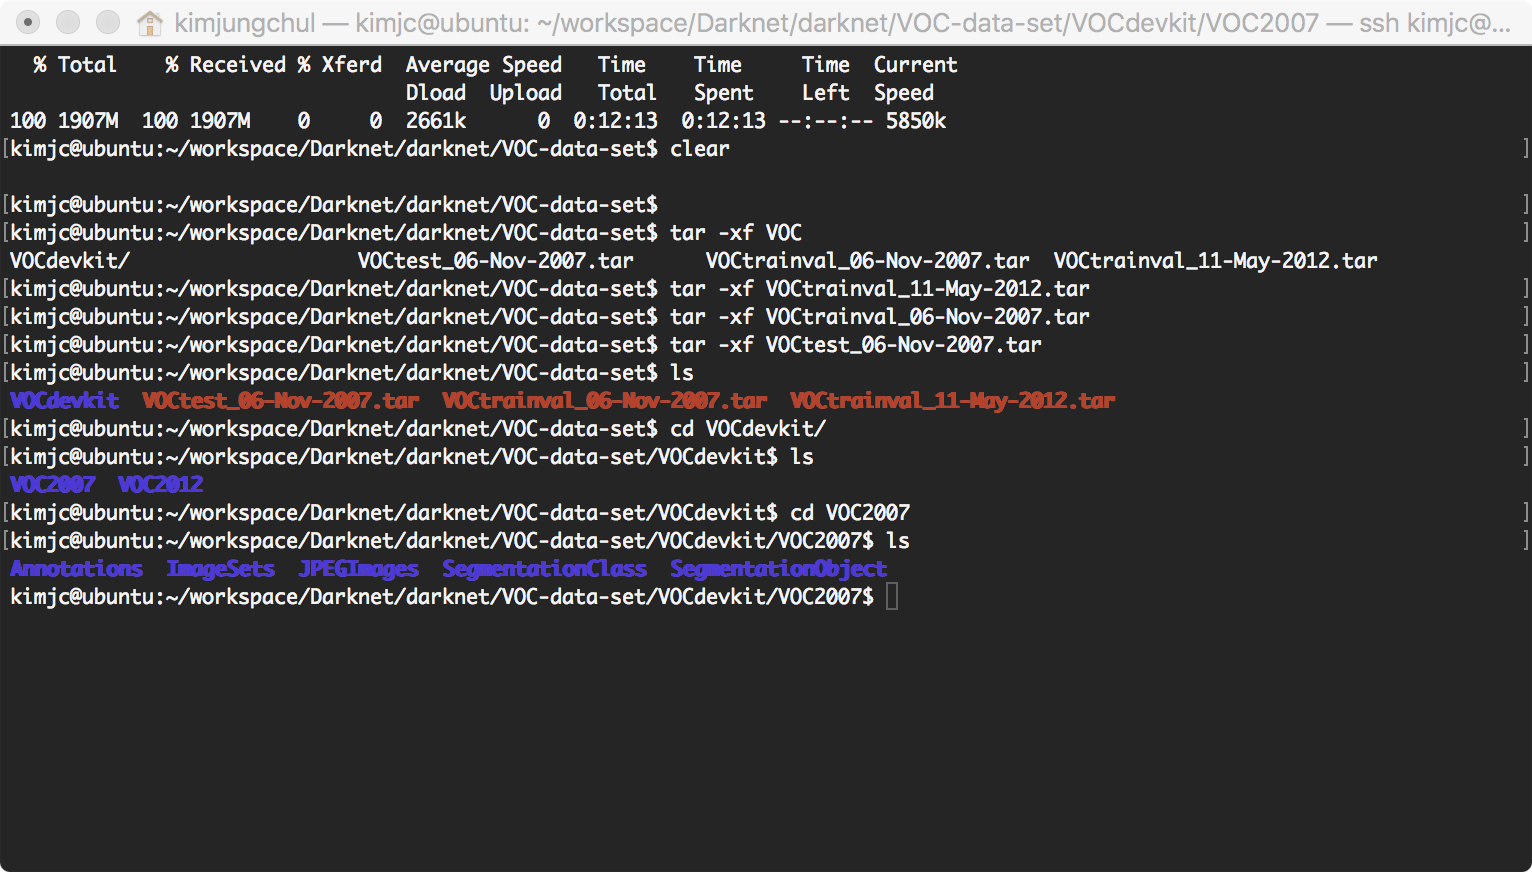
To train YOLO you will need all of the VOC data from 2007 to 2012. You can find links to the data here. To get all the data, make a directory to store it all and from that directory run:
YOLO를 학습시키려면, 2007년부터 2012년 까지 모든 VOC 데이터가 필요합니다. 밑에서 데이터셋에 대한 링크를 확인할 수 있습니다. 모든 데이터를 가져오기 위해서, 모두 저장할 디렉토리를 만들고, 해당 디렉토리에서 다음을 실행합니다.
http://pjreddie.com/projects/pascal-voc-dataset-mirror/
$ mkdir VOC-data-set
$ cd VOC-data-set
$ curl -O http://pjreddie.com/media/files/VOCtrainval_11-May-2012.tar
$ curl -O http://pjreddie.com/media/files/VOCtrainval_06-Nov-2007.tar
$ curl -O http://pjreddie.com/media/files/VOCtest_06-Nov-2007.tar


$ tar -xf VOCtrainval_11-May-2012.tar
$ tar -xf VOCtrainval_06-Nov-2007.tar
$ tar -xf VOCtest_06-Nov-2007.tar
'MachineLearning' 카테고리의 다른 글
| AUC(Area under an ROC curve)와 ROC (0) | 2017.10.31 |
|---|---|
| SSD : Single Shot MultiBox Detector (0) | 2017.04.21 |
| SparkNet : Training Deep Networks in Spark (0) | 2017.02.19 |
| Machine Learning with the tools IPython Notebook SFrame (0) | 2017.02.05 |
| Machine Learning with the tools IPython Notebook Usage (0) | 2017.02.04 |